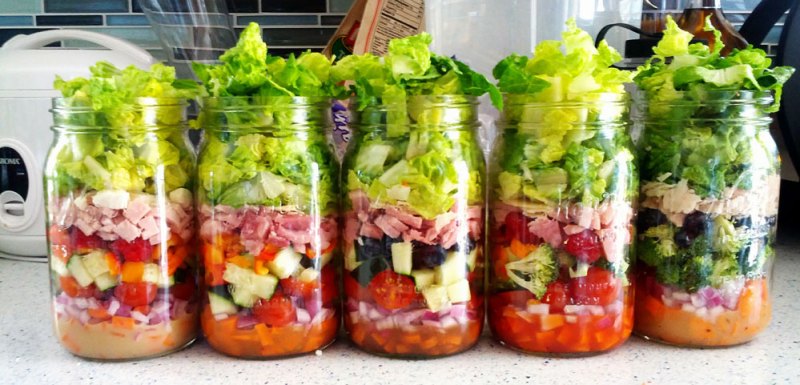
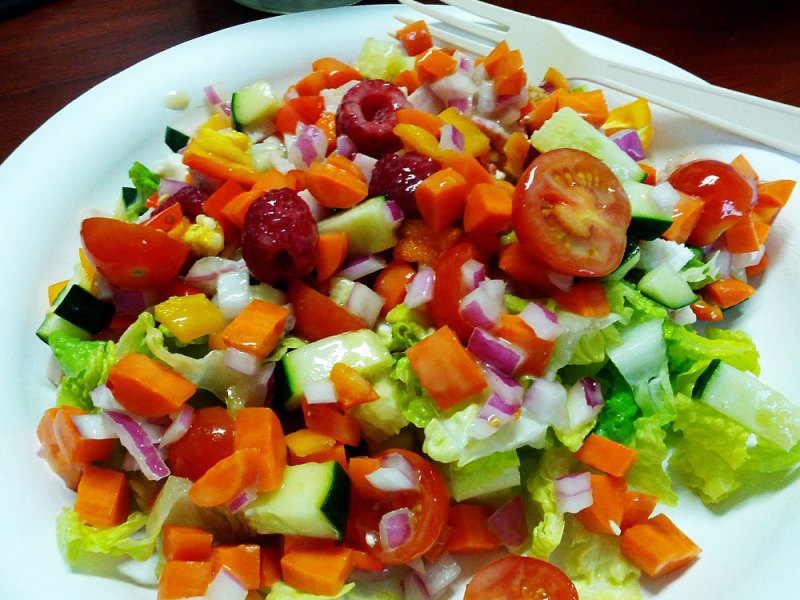
My Salad In a Jar Experiment
A few weeks ago I noticed some blog posts here and here about making salad in a mason jar – and having it last all week without spoiling or getting soggy. I was intrigued. During the work week, salad is one of my default lunches. I eat it a lot. And I can spend anywhere from $8 – $15 depending on where I go and what I get. so I had two questions:
- Could I save money by doing this?
- Would I really enjoy the taste of salad in a jar on Friday – when it’s been sitting in the refrigerator for a week?
Startup costs are minimal, thank goodness. Just $10.44 for 12 quart-size, wide-mouth mason jars (some bloggers say use a pint but seriously, this is my entire meal not a side salad – I need a little more). In hindsight, I also should get a salad spinner to get the water out of the lettuce. Just not something we have in our kitchen.
I stick with pretty similar ingredients in all of the salads to simplify the first week but the options would be about as limitless as your imagination. Here’s my process.
Step 1: Start with dressing.
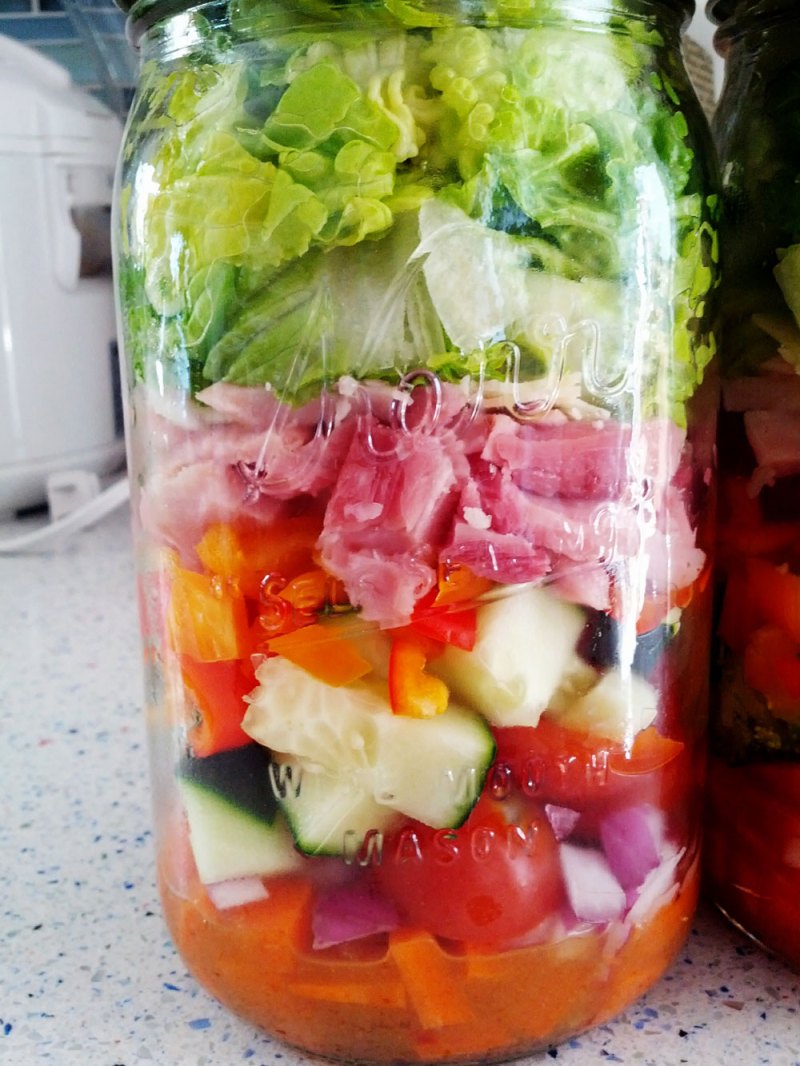
You have to start with the dressing and the most important thing to remember is it CANNOT touch the lettuce. Then you get a disgusting sludge. I used 5 different dressings – all reduced fat (but none fat-free. Dressing shouldn’t be fat free.)
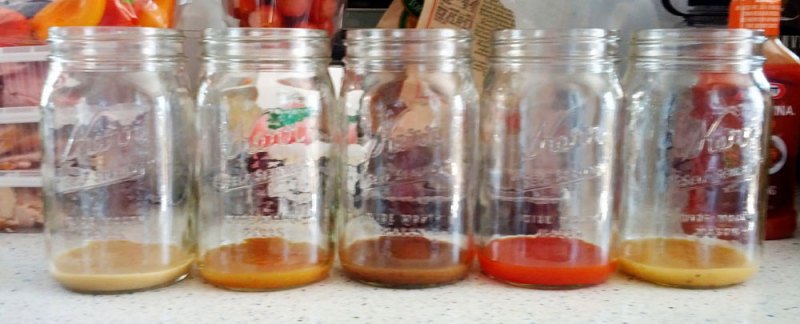
Step 2: Add a base veggie that can handle the acidity in the dressing and not get disgusting.
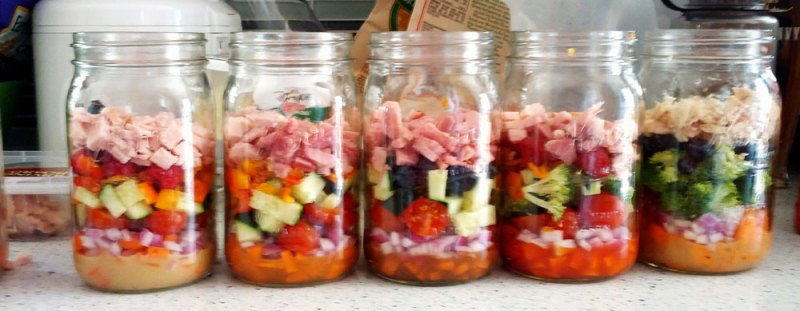
I’m going to experiment with more vegetables but for all salads I used carrots. I love carrots and they’re easy to cut and they won’t get soggy in dressing. Other suggestions from the blogs I’ve read are shredded cabbage/cole slaw mix (not runny cole slaw) and snap peas. I followed my carrots with some red onion (hello team meeting!), cucumber (or broccoli) and tomato. By all counts, the tomato and cucumber could also go in the dressing and not be an issue. I want to experiment with a few more things because everything I’ve read is pretty limited for that base.
You’ll also note that I have some berries and other things on top here. I like a lot of variety in my salad.
The order of veggies is important for the first 2 or so layers from the bottom. After that it doesn’t matter much.
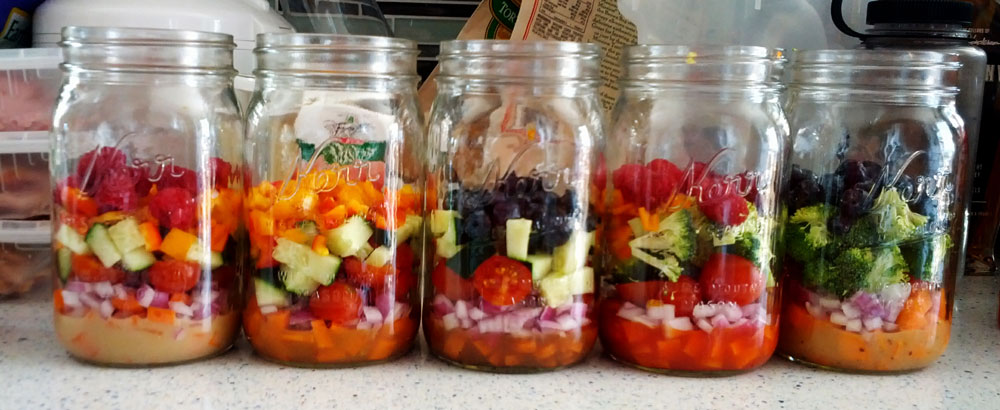
Step 3: Add a protein.
Because these salads will be my entire lunch (unless they all look like crap tomorrow) I need some protein. You can obviously skip this step if you want a vegetarian salad. For the last year or so I’ve been pretty strict about the fact that 4 oz of protein is a serving, so that’s what I followed here. I used the “Meat Carver” pre-packaged lunch meat – which I like a lot and saves me time. I noticed that each package actually does about 2.5 salads (hence salad #4 being a 1/2 & 1/2). I could grill some chicken or pork to use as well – and may try that in the future.
Step 4: Add lettuce.
I read up on this piece a lot. I love arugula and mixed greens, but for salad in a jar they’re a no-go. Pretty much your only options are iceberg (ugh) or hearts of romaine. I chose organic hearts of romaine. I used 4 to fill roughly 5 salads. In hindsight, I overdid it on the ingredients and should probably eliminate something from each of these and add more lettuce. So roughly 1 per salad is about right. I do want to try arugula sometime in the future, or maybe a LITTLE arugula on top.
Step 5: Add lids.
This is easy. You don’t have to do any of the canning craziness or vacuum seal these lids. They’re only going to sit for a few days in the fridge and should hold up (I’m told). I did make sure to not have any lettuce stuck under the inner lid – that just seemed like a disgusting mess ready to happen – but other than that, just put the lids on and tighten.
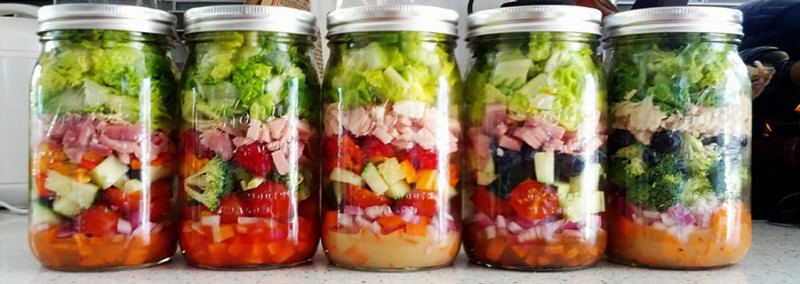
That’s really it. Just keep them in the fridge until you’re ready to take to work or eat. If you do travel with it, be careful not to shake it up. They need to stay upright to keep the dressing away from the lettuce.
When you’re ready to eat you can shake and eat right out of the jar or dump upside down into a bowl. One other suggestion was to turn it upside down in the refrigerator about 15 minutes before you want to eat it to get the dressing permeated through.
Costs
Here’s what I spent:
- Organic Hearts of Romaine: $2.98 for 3 ($1.00 per salad)
- Dressings: $1.89 per 16 oz bottle ($0.24 per salad)
- Organic Carrots: $0.94 for 6 ($0.16 per salad)
- Red Onion: $0.93 for 1 (used half, $0.08 per salad)
- Blueberries: $2.48 (used half, $0.50 per salad – raspberries were similar in price)
- Turkey/Ham: $3.88 for 7.5 oz (used 3 oz per – $1.55 per salad)
- Tuna: $1.29 for 5 oz (used 1 can in salad – 1 oz went to the cat)
- Cucumber: $0.74 for 1 (used 1/2 in salads – $0.07 per salad)
- Cherry Tomatoes: $2.50/package ($0.50 per salad)
- Feta Crumbles: $3.42/package (parmesan was slightly less – est. $0.20 per salad)
Time:
Here’s hoping it works well. I’ll let you know how it goes.
The salads (from left to right in the FINAL picture) with ingredients in order of layering:
Salad #1
- Asian Ginger Dressing (2 tbsp)
- Carrots (diced)
- Red Onions (diced)
- Cucumber (diced)
- Cherry Tomato (cut in half)
- Sweet Bell Peppers (diced)
- Ham (3 oz diced)
- Hearts of Romaine
Salad #2
- Catalina Dressing (2 tbsp)
- Carrots (diced)
- Red Onions (diced)
- Cherry Tomato (about 5, cut in half)
- Broccoli Florets (lightly chopped)
- Sweet Bell Peppers (diced)
- Raspberries (about 6)
- Ham & Turkey (3 oz diced)
- Hearts of Romaine
Salad #3
- Honey Mustard (2 tbsp)
- Carrots (diced)
- Red Onions (diced)
- Cherry Tomato (cut in half)
- Raspberries (about 6)
- Sweet Bell Peppers (diced)
- Turkey (3 oz diced)
- Hearts of Romaine
Salad #4
- Parmesan Asiago (2 tbsp)
- Carrots (diced)
- Red Onions (diced)
- Cherry Tomato (cut in half)
- Blueberries (about 10)
- Sweet Bell Peppers (diced)
- Ham (3 oz diced)
- Hearts of Romaine
Salad #5
- Italian (2 tbsp)
- Carrots (diced)
- Red Onions (diced)
- Cherry Tomato (cut in half)
- Sweet Bell Peppers (diced)
- Broccoli Florets (lightly chopped)
- Albacore Tuna (4 oz drained)
- Hearts of Romaine

 By
By
